A sun-kissed glow feels incredible, but achieving that perfect bronzed look can sometimes feel like a daunting task. Sunburns and sun damage are real risks of prolonged UV exposure, leading many people to seek safer alternatives. Achieving a flawless, natural glow is the ultimate confidence booster, yet the fear of looking streaky or orange often holds people back.
Understanding how skin reacts to different tanning methods is crucial for maintaining healthy skin and a beautiful complexion. Preparation, application, and maintenance all play critical roles in the final result. A great tan does not happen by accident. It requires a thoughtful approach to skincare and an understanding of the available options.
This guide will walk you through the essential steps to secure a realistic, beautiful tan. By following these expert tips for a natural looking tan prep application maintenance, you can enjoy a radiant appearance safely and confidently all year long.

Preparation is Key: The Foundation of a Flawless Tan
Your skin is a canvas. If that canvas is rough or dry, the final masterpiece will look uneven. Proper preparation is the most important step in any tanning routine.
Exfoliate to Remove Dead Skin
You should always exfoliate at least 24 hours before your tanning session. Removing dead skin cells creates a smooth base for the tan to adhere to. Pay special attention to rough areas like your elbows, knees, and ankles. These dry spots tend to absorb more tanning solution, which can lead to dark, unnatural patches. A light, oil-free scrub works best, as heavy oils can leave a residue that acts as a barrier to the tan.
Moisturize the Right Way
Hydration is vital, but timing matters. Apply a light, oil-free moisturizer to those notoriously dry areas right before your spray tan or self-tanner application. This prevents the solution from clinging to dry patches. Avoid applying heavy lotions all over your body immediately before tanning, as this will prevent the active ingredients from developing properly on your skin.
Choosing the Right Method: Pros and Cons
Selecting the best way to tan depends on your skin type, schedule, and desired results. Here is a look at the indoor tanning vs automated spray tan vs self tanner pros and cons.
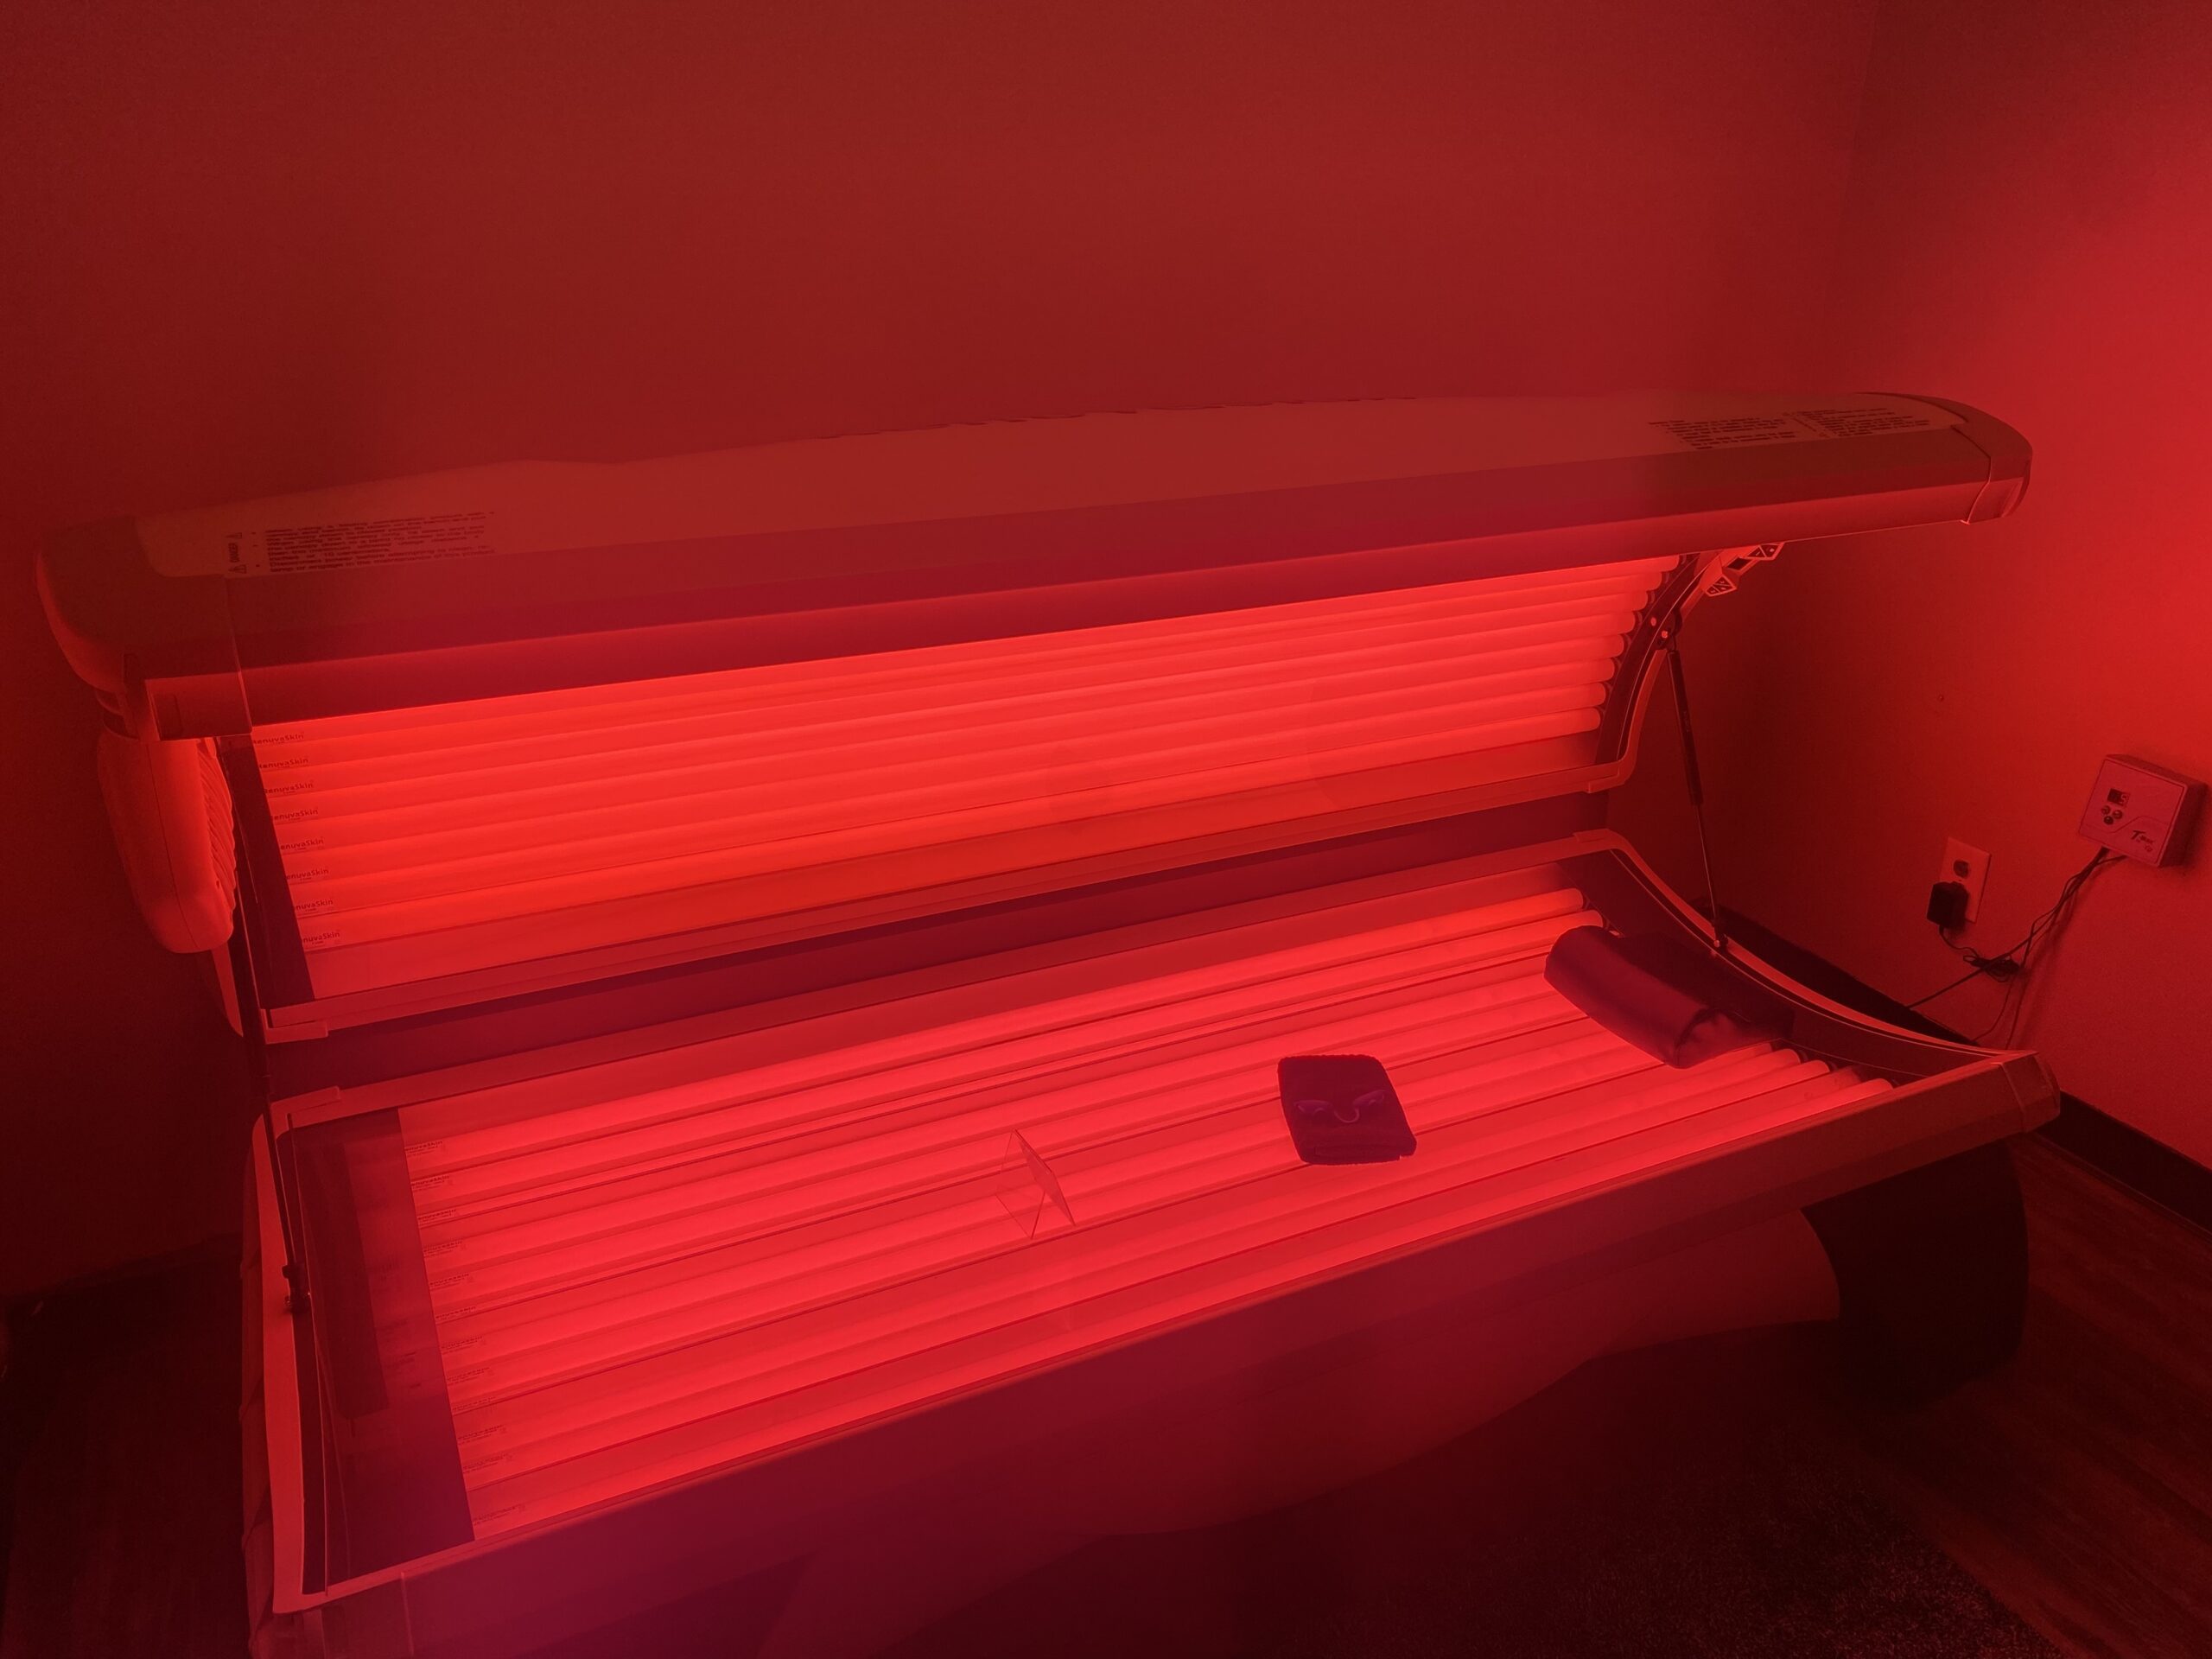
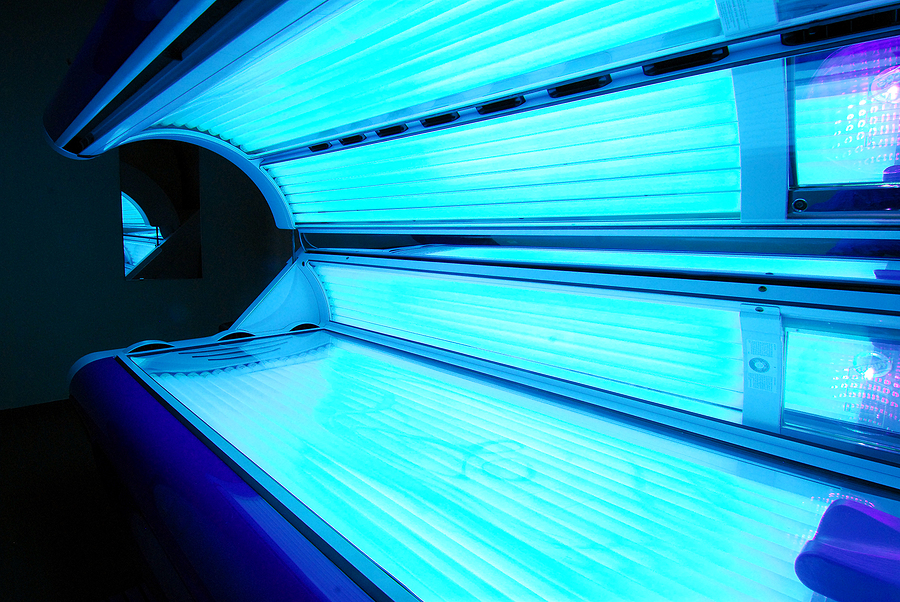
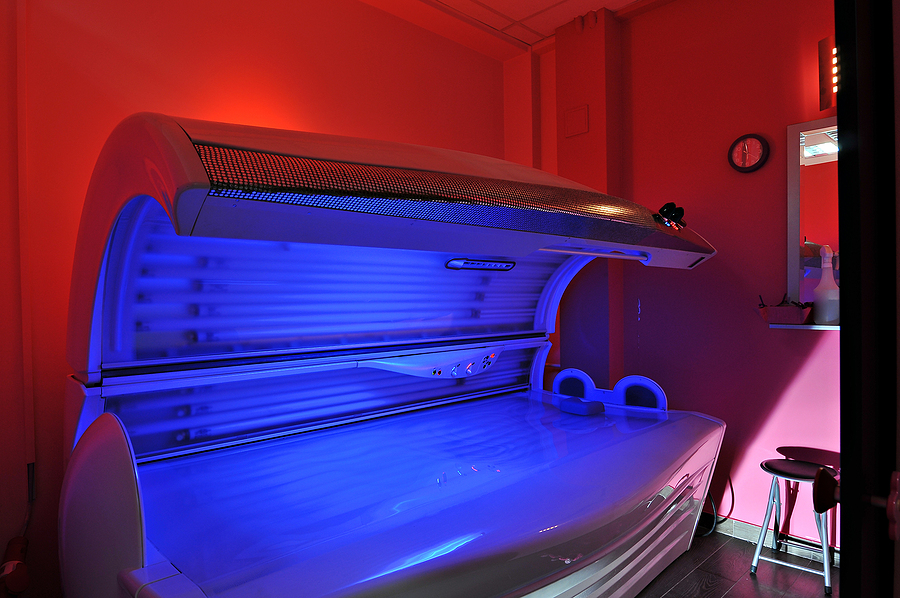
Indoor Tanning
Indoor tanning beds offer a controlled environment to build a base tan gradually. They provide quick sessions and mimic the natural tanning process of the sun. However, it is essential to follow safety guidelines and limit exposure times to avoid skin damage. Moderation and proper protective lotions are necessary.
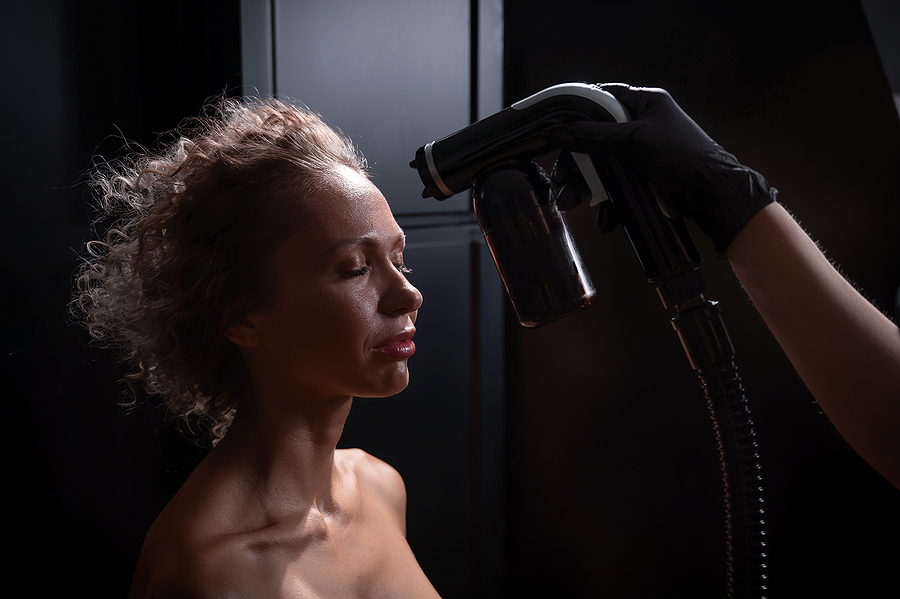
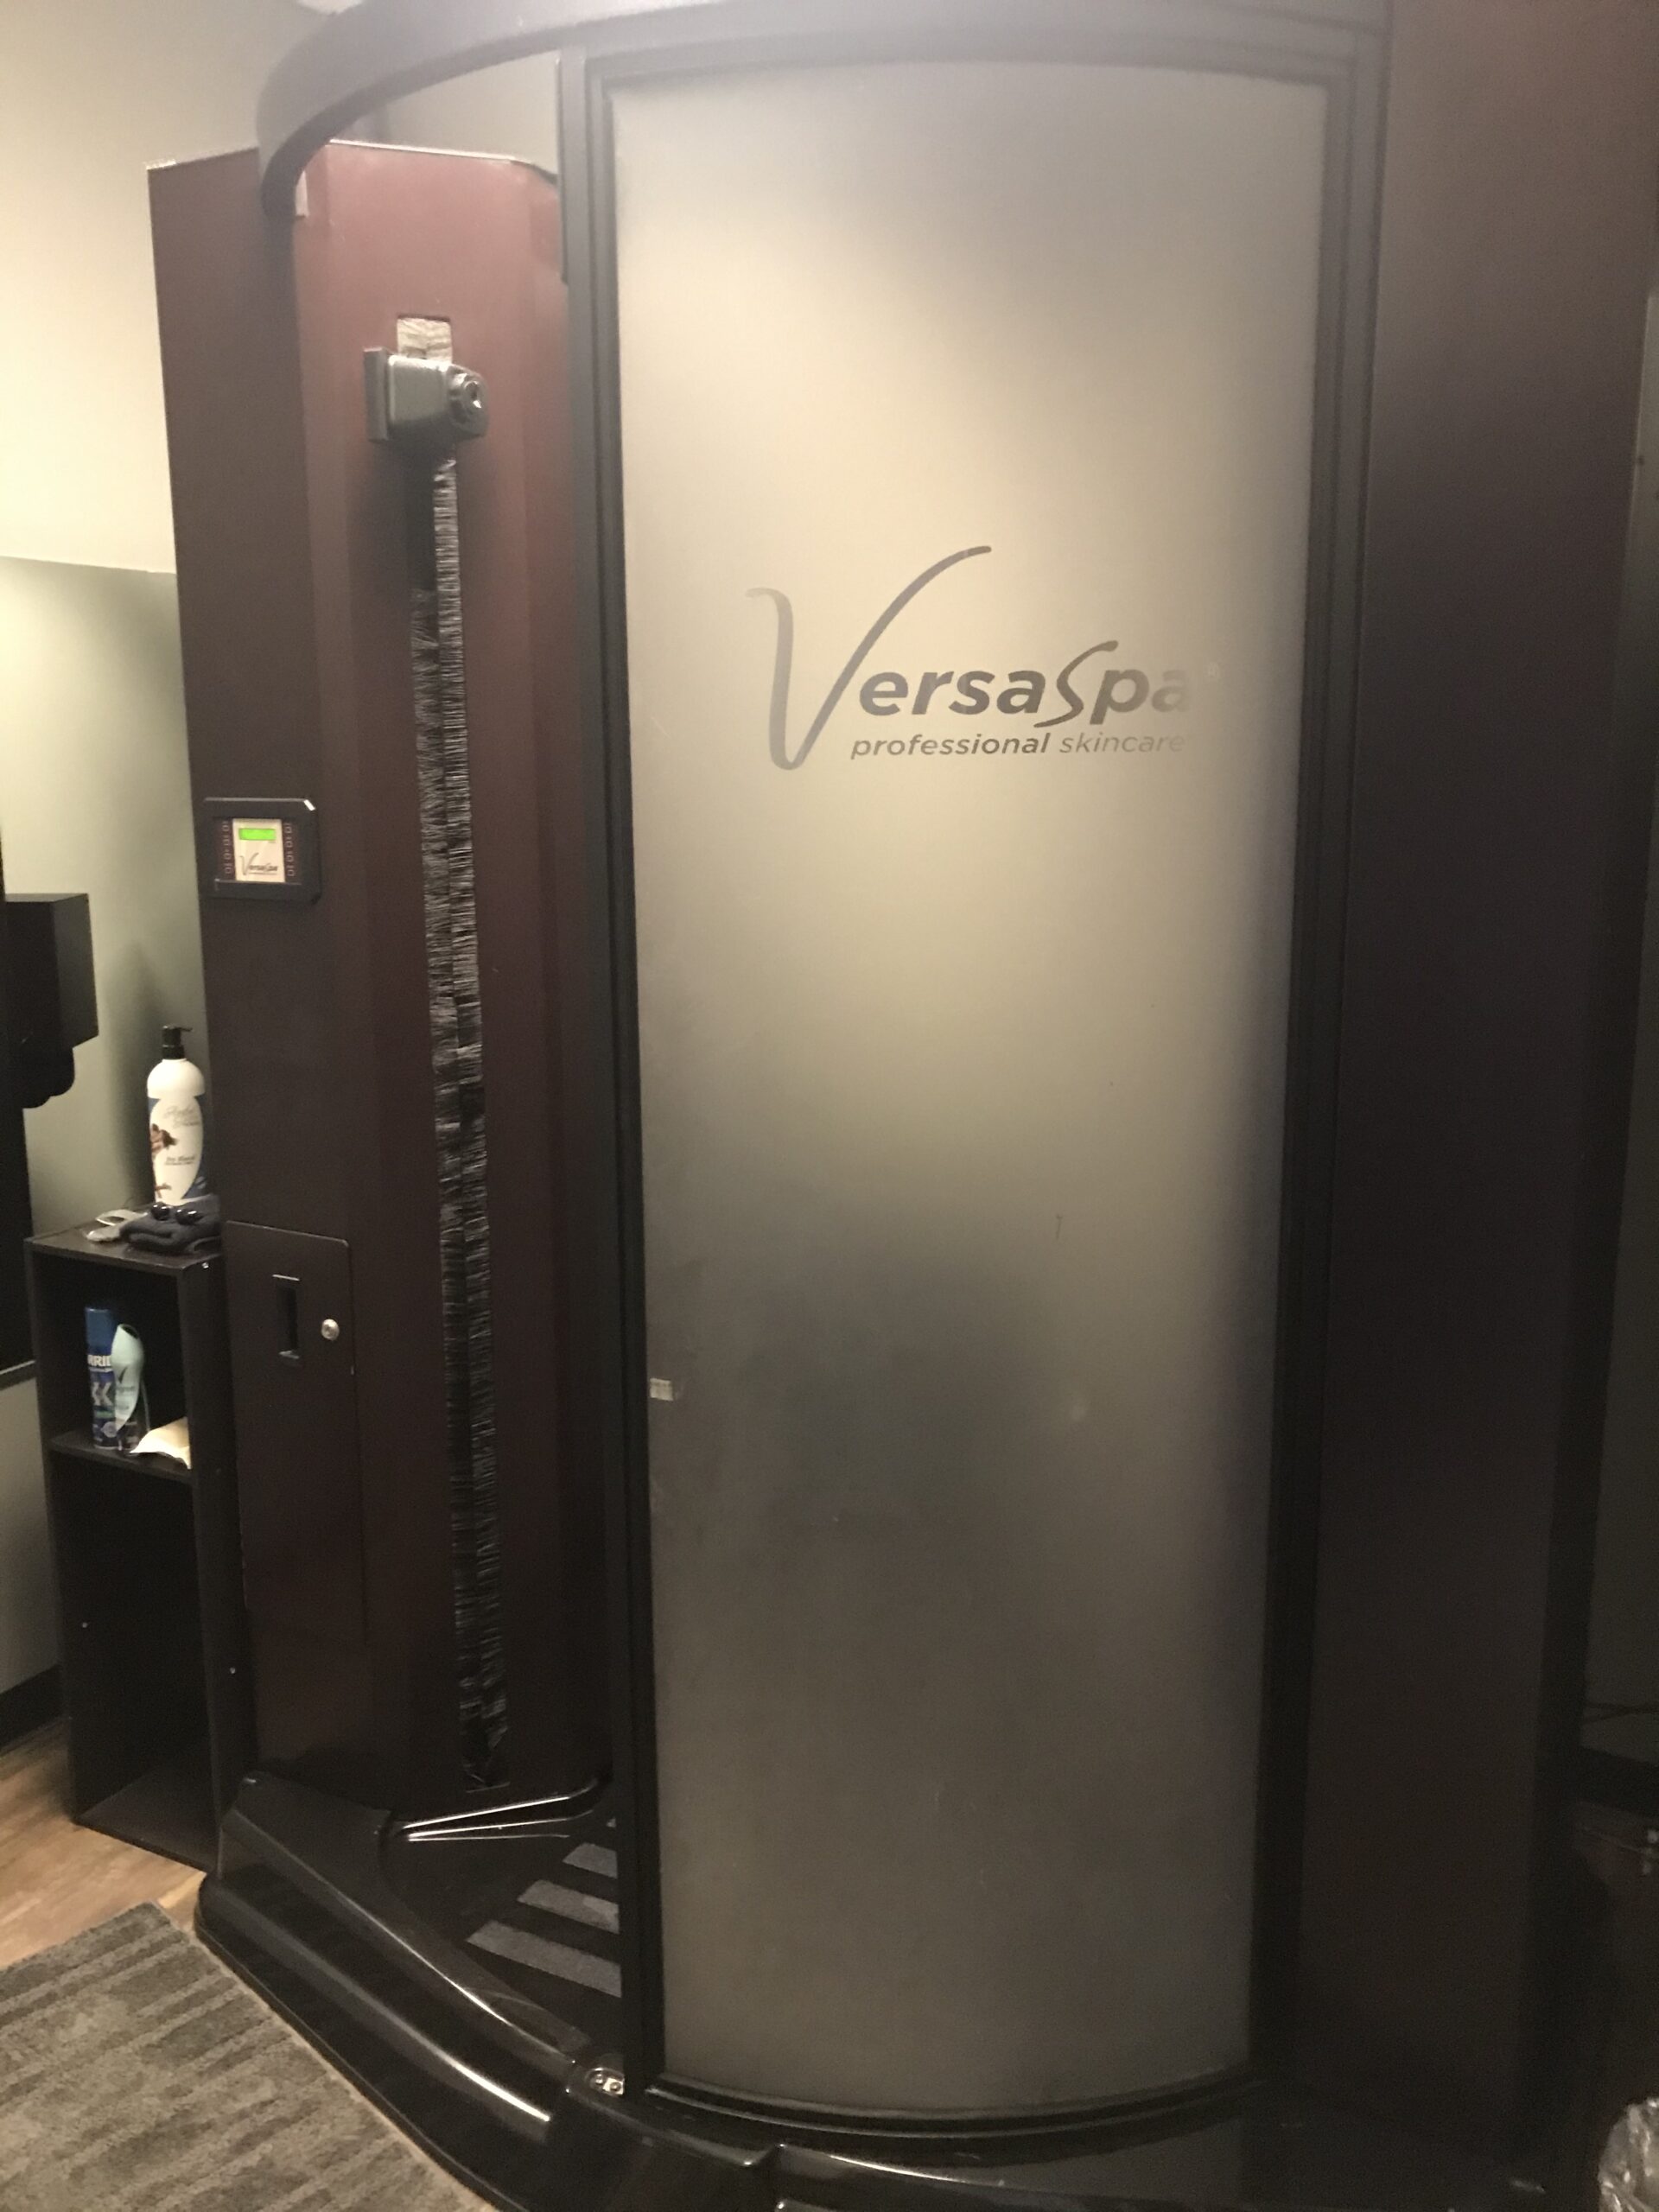
Automated Spray Tan Beds
Automated spray tanning offers an instant, even glow without UV exposure. Systems like Mystic Tan and VersaSpa deliver a fine mist of tanning solution over the entire body. Mystic Tan uses a magnetic sweep technology to attract the solution to your skin, often requiring only one turn.
VersaSpa provides a heated, comfortable environment with voice instructions guiding you through a few poses for complete coverage. Both automated spray beds offer incredible benefits, including privacy, speed, and consistently natural-looking results.
At-Home Self-Tanners
Self-tanners are convenient and budget-friendly. They come in mousses, lotions, and sprays. While they offer complete control over your routine, they also carry the highest risk of user error. Streaks, missed spots, and stained palms are common pitfalls for beginners.
Professional Tips for Application
Applying your tan correctly is what separates a realistic glow from an artificial-looking disaster.
Avoiding the Dreaded Orange Tone
Nobody wants an orange tan. This usually happens for three reasons: poor skin prep, using a solution that is too dark for your natural skin tone, or leaving a rapid solution on for too long. To avoid orange, choose a shade that closely matches your natural undertones. If you are fair, start with a light or medium shade. Always follow the specific timing instructions provided by the manufacturer or your tanning technician.
Achieving an Even Finish
When using automated spray beds, listen carefully to the voice prompts and hold the recommended poses. If you are applying self-tanner at home, always use a tanning mitt. Blend the product in sweeping, circular motions. Use only the residual product left on the mitt for your hands, feet, and face.
Maintaining Your Glow: Aftercare Secrets
A beautiful tan requires ongoing care. How long does a spray tan last and maintenance tips are some of the most common questions tanning professionals hear. Typically, a spray tan lasts between 5 to 10 days, depending on your skin type and care routine.
Hydration is Essential
Keep your skin moisturized to extend the life of your tan. Apply a daily lotion to lock in hydration. Avoid hot showers, harsh soaps, and heavy exfoliation, as these will strip the color away prematurely. When drying off after a shower, gently pat your skin with a towel instead of rubbing.
Frequently Asked Questions
How long should I wait to shower after a spray tan?
Typically, you should wait 8 to 12 hours before showering to allow the tan to fully develop. If you use a rapid solution, this time drops to 1 to 4 hours, depending on the desired darkness.
Will a spray tan protect me from the sun?
No. Spray tans and self-tanners do not contain sunscreen and offer no protection against UV rays. You must still apply SPF when spending time outdoors.
What should I wear to my tanning appointment?
Wear loose-fitting, dark clothing to your appointment. Tight clothes like yoga pants or tight bras can rub the tanning solution off your skin before it has a chance to develop.
Ready to Elevate Your Glow?
Achieving a flawless, natural-looking tan comes down to proper preparation, choosing the right method, and maintaining your skin with dedicated aftercare. By following these guidelines, you can enjoy a beautiful, radiant complexion without the worry of streaks or orange tones.
If you want guaranteed, professional results, we are here to help. Book your session for the best indoor tanning and spray tanning in Broad Ripple, Indiana. Check out our automated spray tan beds and let our experts guide you to your perfect glow today!
Related Post: 10 Tips to Maximize Your Indoor Tanning Experience